![]()
![]()
![]()
![]()
![]()
|
| Please Support our Sponsors |
 |
 |
 |
||
 |
|
 |
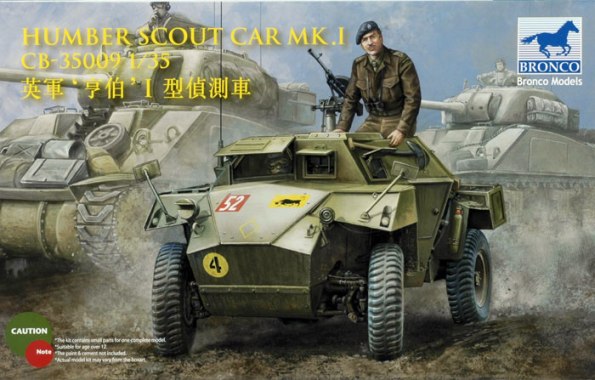
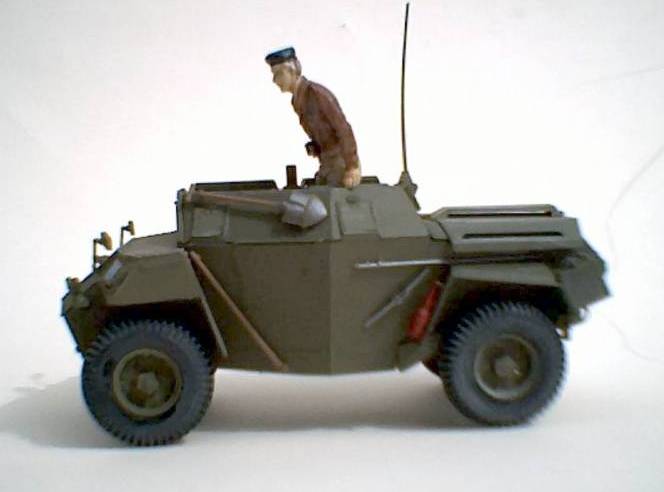
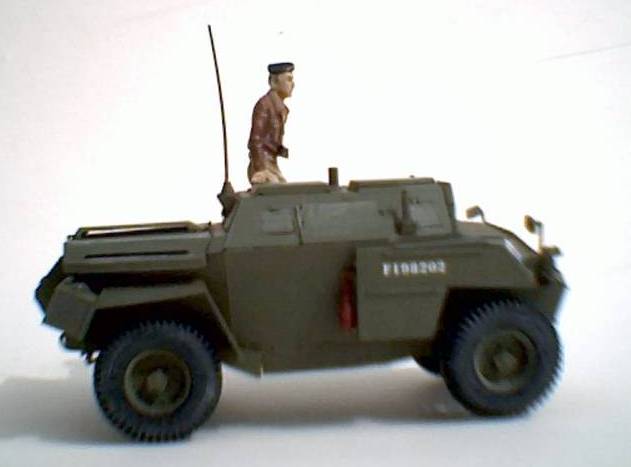
1/35 Bronco Models Humber Mark I Scout Car
Kit Review
By Dave Haugh - Oregon, USA
(First Published at Armorama)
___________________________________________________________________________________________________
Photos
Quick Summary
|
Main Positive Features: Bronco has done the modeler a favor with a beautiful version of the British Humber Scout Car. Molding is crisp, detail is sharp and to scale and you can make the model to the limits of your skills and patience, basic or super detailed Main Negative Features: The small extra that the sprues encroach onto the mating surfaces of the parts makes it difficult to get a good fit unless you've been very careful to remove any extra plastic. |
|
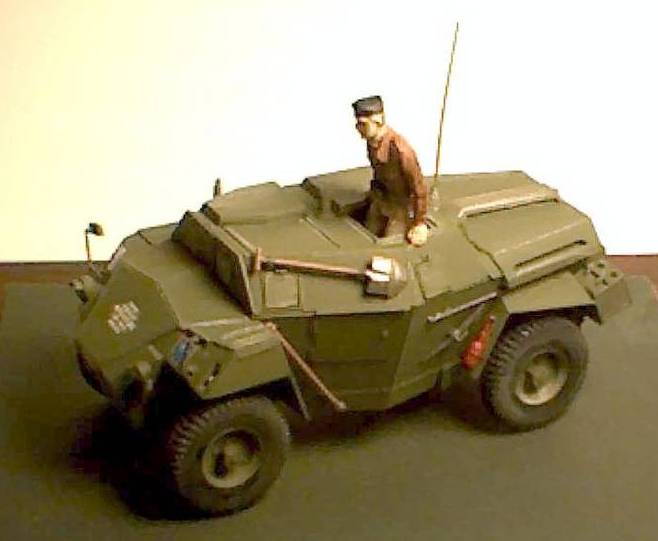
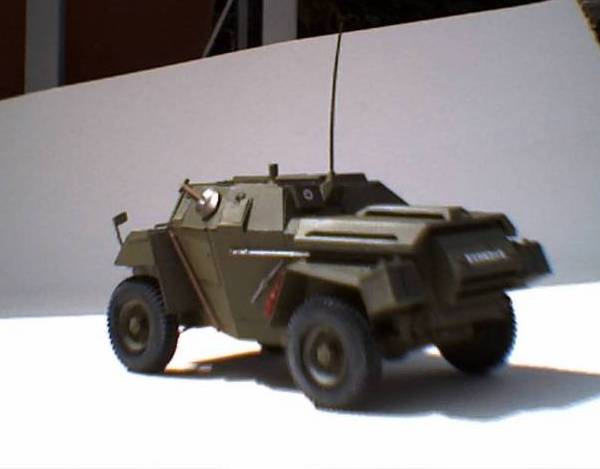
Detailed Review It's been a couple of years since I last completed (you'll note I didn't say built) a model, and the very first time I've worked on one made by Bronco. Although a small vehicle (not much bigger than the more widely known Dingo), Bronco still manages to come up with 239 parts, five vinyl tires and a fret of etched brass... oh yeah, there's also a bit of hollow tubing for the engine and a piece of clear plastic for the driver's windshield. A single beautifully cast standing figure is also included which I assume is resin. Markings for six different vehicles, running from the early 1940's to the early 1950's are supplied on a very nice decal sheet. If your the kind of modeler that builds a kit using the instructions as an exact guide with all the sequences in order of appearance, don't do so this time. The pages are out of order and not all of the small bits are identified... they just appear as if by magic, already attached in the drawings. Actually this isn't as bad as it sounds, just build it in logical stages and your set. I put together the chassis, and running gear first and then attached the lower hull to the completed chassis. This is where I first had trouble with the fiddly bits. Bronco has done some beautiful scale/near scale casting of the many parts. But this makes getting the individual parts off of the sprue without breaking them a real challenge. The castings also have a secret which I found out on the first two sub-assemblies. The attachment points from the sprue are well placed and for the most part you can get a sprue cutter into place, remove the part, trim off any small portion still sticking out and then glue together. Unfortunately the sprue attachment has a small raised portion that extends into the mating surface. It's like having a small extra locator pin without the matching hole. This problem appeared off and on through the whole assembly process, sometimes on very small, fine parts. Locating and removing these extras really slowed down construction. After the chassis and hull I turned to the interior, and here's where your going to have to make a decision. The kit comes with a complete interior and the option to leave the hatches and visors open so you can see the inside. But, only the one standing figure is supplied, if you put him in the commander's hatch and leave the driver's visor open, there isn't any driver... looks kind of silly. Since I was building the model for review and only using the parts supplied I opted to close the driver's hatch and all the visors with the standing figure in the commander's hatch. While I did detail the inside of the compartment, I didn't go crazy because you can't really see much of it. If you have an old Tamiya Dingo around I would suggest just swapping the driver into the Humber and leave everything open. The same goes for the engine compartment. Bronco supplies a really good looking six cylinder gas engine, fans, gas tank, etc that can be super detailed to your heart's and reference library content. But if you don't leave the rear engine cover open so you can see all the work, save it for another project. Next, I attached the crew compartment top and all the small bits on the fenders and hull body. Again you'll have to be careful, some of these parts are really small. I actually switched over to CA "super glue" so that I could use the smallest amount of adhesive possible. Speaking of adhesive, for those that like to use them a complete etched brass fret is supplied with straps, buckles, levers and even your own set of "flimsies" (British gas cans). I don't like photo-etched, so I didn't use them. Lastly I painted the vehicle and figure for the Guard's Armoured Division in Germany, added the decals and placed on a stand. In conclusion, I recommend this kit for any modeler with average to better skills, a beginner will find the kit a challenge and may give up before it's complete. Highly Recommended. Thanks to Bronco Models and Armorama for the review sample. |
| Copyright: David Haugh - October 25, 2007 |